Docs GPT
14.2k 1.4kWhat is DocsGPT ?
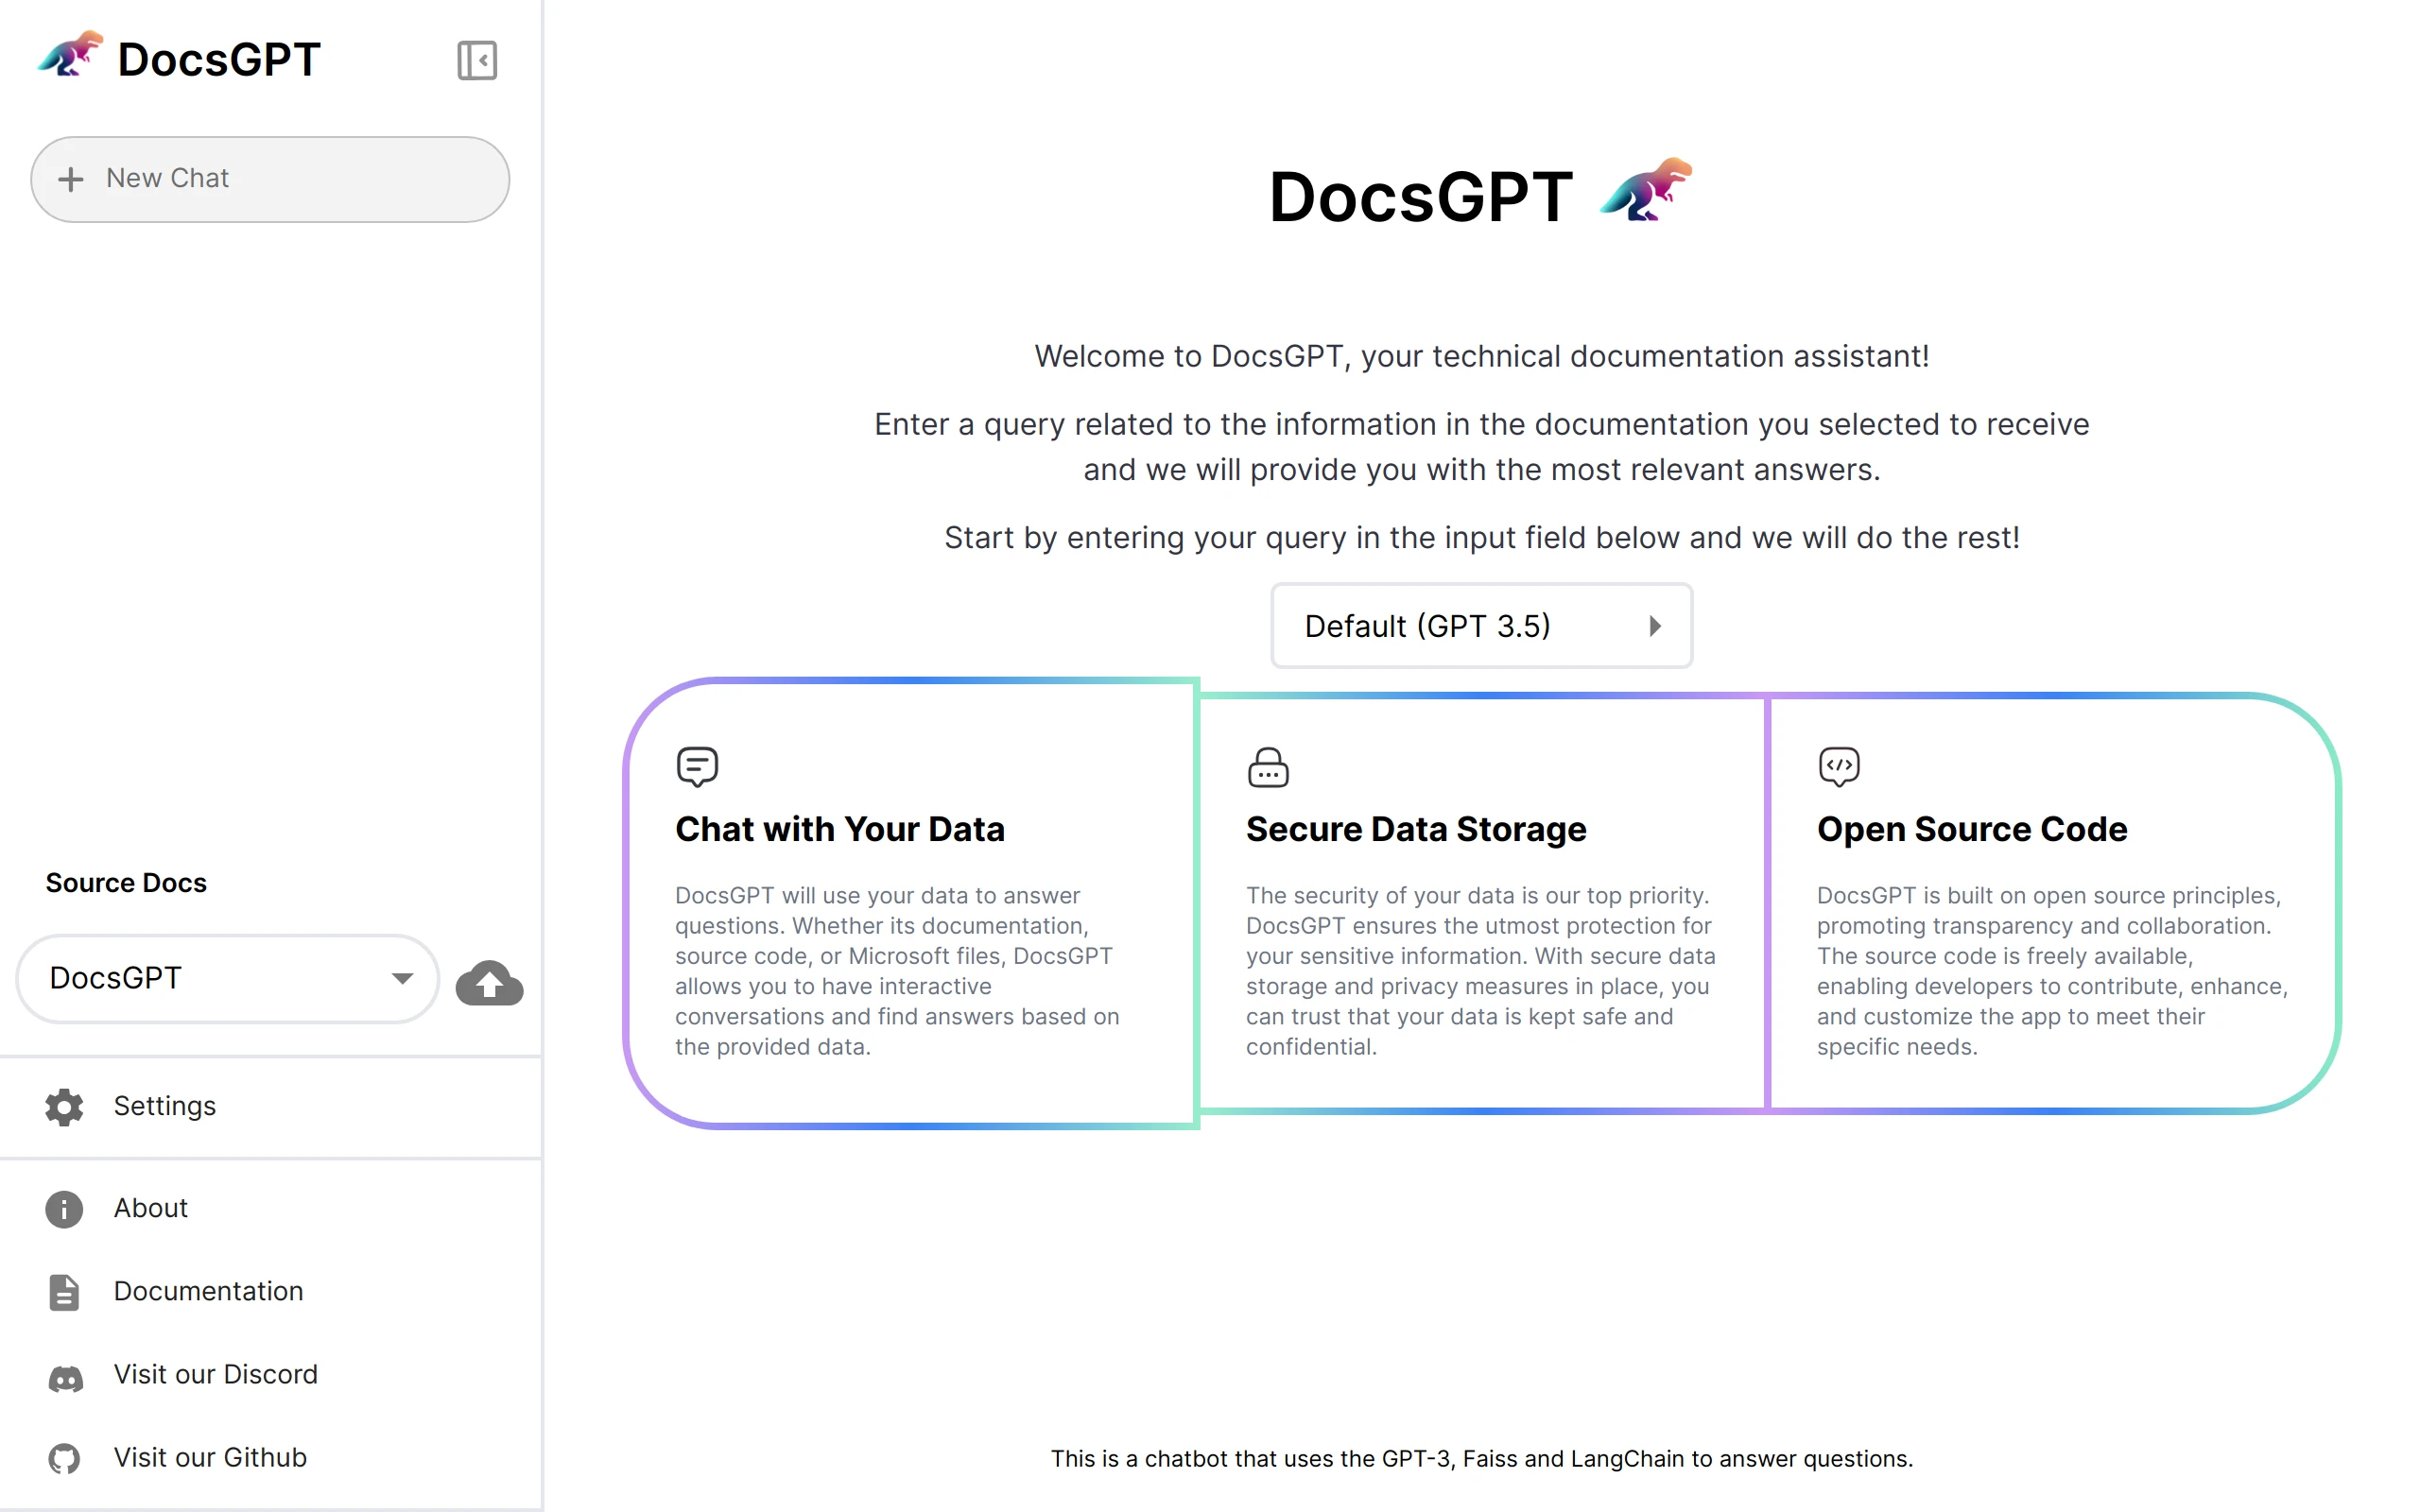
DocsGPT is a cutting-edge open-source solution that streamlines the process of finding information in the project documentation. With its integration of the powerful GPT models, developers can easily ask questions about a project and receive accurate answers.
Say goodbye to time-consuming manual searches, and let DocsGPT help you quickly find the information you need. Try it out and see how it revolutionizes your project documentation experience. Contribute to its development and be a part of the future of AI-powered assistance.
Open-Source Models Optimized for DocsGPT:
| Name | Base Model | Requirements (or similar) |
|---|---|---|
| Docsgpt-7b-falcon | Falcon-7b | 1xA10G gpu |
| Docsgpt-14b | llama-2-14b | 2xA10 gpu’s |
| Docsgpt-40b-falcon | falcon-40b | 8xA10G gpu’s |
If you don’t have enough resources to run it, you can use bitsnbytes to quantize.
DocsGPT Features

Project Structure
-
Application - Flask app (main application).
-
Extensions - Chrome extension.
-
Scripts - Script that creates similarity search index for other libraries.
QuickStart
Make sure you have Docker installed
On Mac OS or Linux, write:
./setup.sh
It will install all the dependencies and allow you to download the local model or use OpenAI.
Otherwise, refer to this Guide:
-
Download and open this repository with
git clone https://github.com/arc53/DocsGPT.git -
Create a
.envfile in your root directory and set the env variableAPI_KEYwith your OpenAI API key andVITE_API_STREAMINGto true or false, depending on whether you want streaming answers or not.It should look like this inside:
Terminal window API_KEY=YourkeyVITE_API_STREAMING=trueSee optional environment variables in the /.env-template and /application/.env_sample files.
-
Navigate to http://localhost:5173/.
To stop, just run Ctrl + C .
Development Environments
Spin up Mongo and Redis
For development, only two containers are used from docker-compose.yaml (by deleting all services except for Redis and Mongo).
See file docker-compose-dev.yaml.
Run
docker compose -f docker-compose-dev.yaml build
docker compose -f docker-compose-dev.yaml up -d
Run the Backend
Make sure you have Python 3.10 or 3.11 installed.
- Export required environment variables or prepare a
.envfile in the/applicationfolder:
- Copy .env_sample and create
.envwith your OpenAI API token for theAPI_KEYandEMBEDDINGS_KEYfields.
(check out application/core/settings.py if you want to see more config options.)
-
(optional) Create a Python virtual environment:
You can follow the Python official documentation for virtual environments.
a) On Mac OS and Linux
python -m venv venv
. venv/bin/activate
b) On Windows
python -m venv venv
venv/Scripts/activate- Change to the
application/subdir by the commandcd application/and install dependencies for the backend:
pip install -r application/requirements.txt-
Run the app using
flask --app application/app.py run --host=0.0.0.0 --port=7091. -
Start worker with
celery -A application.app.celery worker -l INFO.
Start Frontend
Make sure you have Node version 16 or higher.
-
Navigate to the /frontend folder.
-
Install the required packages
huskyandvite(ignore if already installed).
npm install husky -g
npm install vite -g-
Install dependencies by running
npm install --include=dev. -
Run the app using
npm run dev.